Monday, September 24, 2018

Airbrushing gold to the upper dome glass


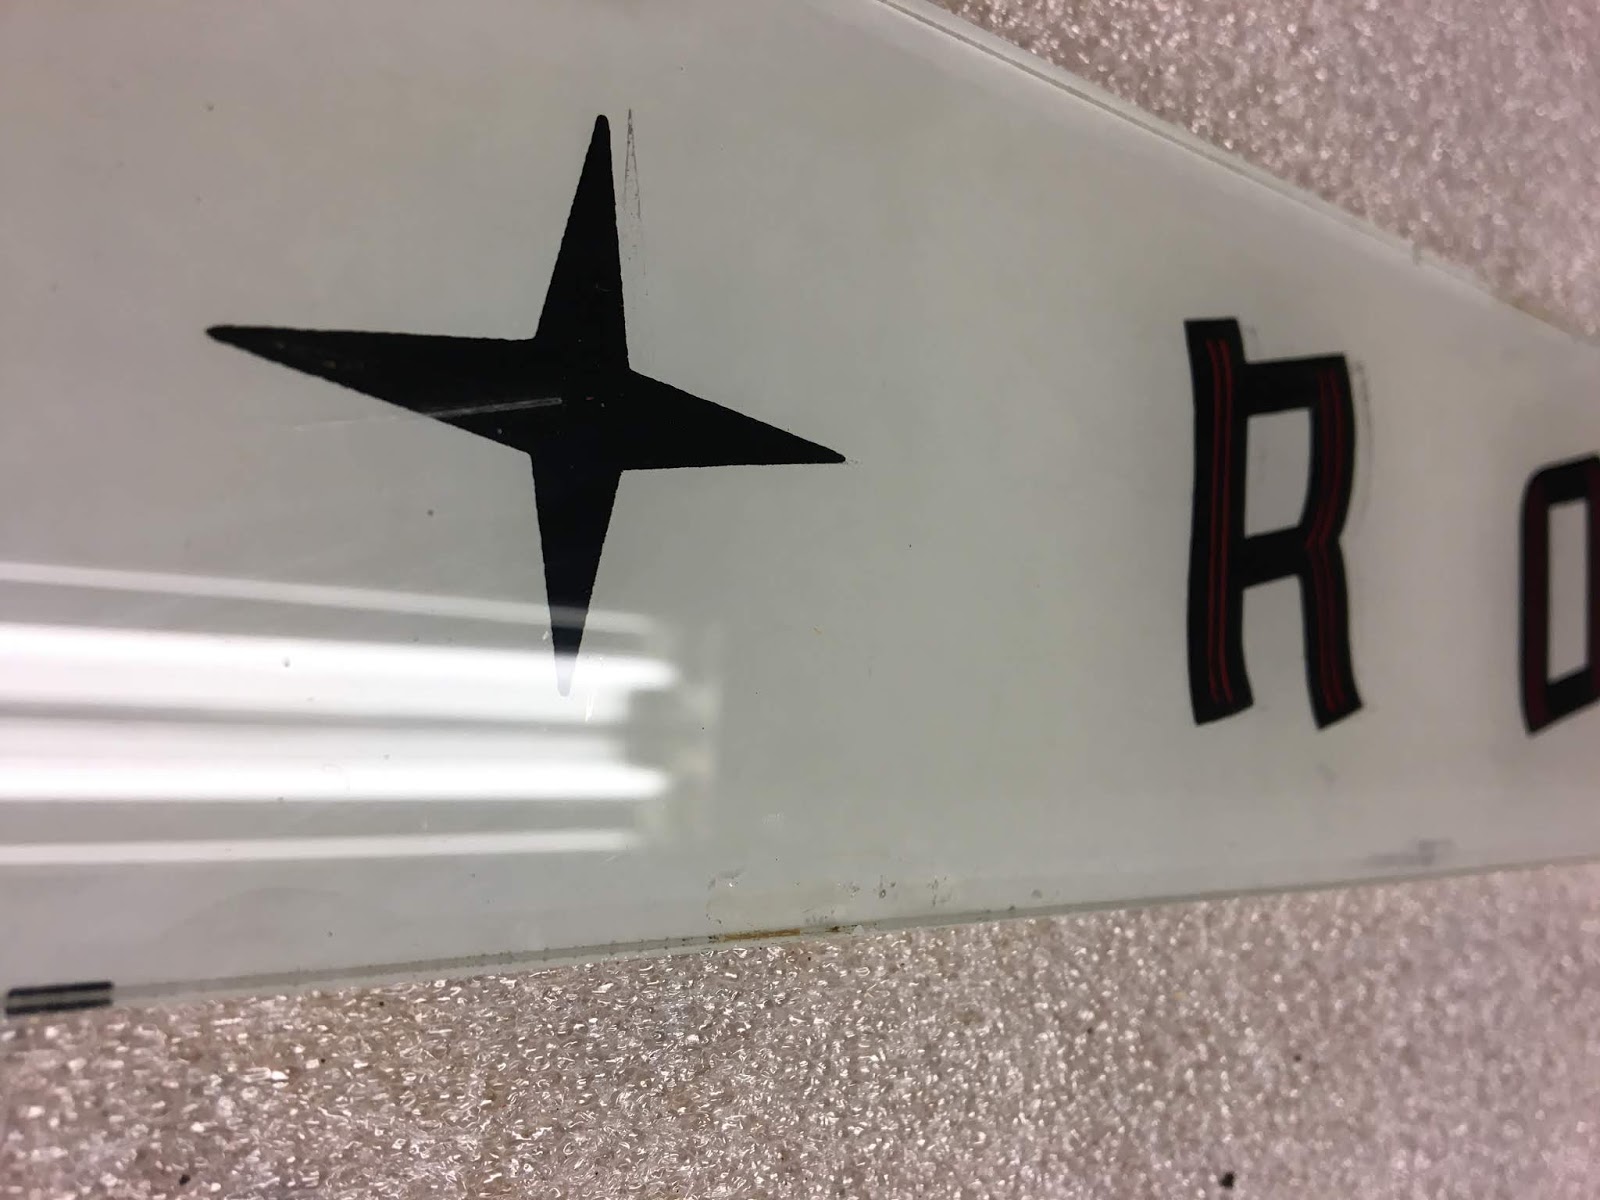
The upper glass is screenprinted with red, black and white (transparent) colors on the backside. The front is printed with shiny gold. This is made for getting a "deep" in the text and it's realy cool and nice to look at! I have never seen a 1458 upper domeglass with the original gold screenprint on the front not faded, it seems to be standard that the front screenpring is more or less gone! Same with my glass, you can just imagine where the gold have been printed.


First problem was the knife to cutout the frisket foil. I had to build a knife with two parallell blades to get the the cutouts following each other, I first tried to cut by free hand and with a singel blad scalpel but it was impossible to get it right. This took me a couple of hours but it was well worth the invested time.


Here I have sprayd the gold paint over the the frisket plastic mask. I used Createx Wicked gold color,  in my opinion one of the best gold colors.


The result, not as good and sharp as a shiny screenpring but good enough!


The biggest drawback is that the paint is quite easy to peel of and the glass must be handled carfully.


Refurbish of plastic covers

The orange covers are ok regarding the shape, but of course dirty as everything else.
So I cleaned the covers but they where quite dull and boring, but a can of new 2K spray custom made paint made them look like new.
   
                     Not Cleaned                                   Cleaned                                   Painted

Upper program selection switches & buttons

The three buttons (blue, yellow & red) and switches rotates the title drum.  The switches did not work due to dirt/dust on the ultra-small leafs, everything had to be aligned and cleaned with solvent.


A half switch, cleaned  and two not yet aligned leafs for one button.


Fixing the 60 Hz Motor speed and heat

As the jukebox comes from US the turntable motor runs on 60 Hz.
Here in Sweden we have 50 Hz, so to correct that I bought a spring from Stamann in Germany to mount on the motor drive shaft. Well it did fit perfect BUT the speed was around 40 rpm so it was just a waste of time and money.

Next problem was the motor was running heat caused of the 50 Hz, motor was around 70 degrees C HOT and the windings will probably melt down over time.
A large metal resistor (82 ohms 25W) is the solution here, voltage went down to 100VAC and the heat went down to 35-40 degrees C, I can live with that but a 50 Hz motor should be my final solution.

The motor in pieces, no radial play in the bearings (will cause rumble), and a 2,5mm axial play seems ok.


As it was impossible to achive the speed 45 rpm it ended up in the workshop at my work.
With the spring diameter in mind I estimated the outer diameter to be 5,35 mm.

The new turned ABS tube installed and slightly grinded in place now gives 45,1 rpm :-)


 Temperature/voltage after adding the 82 ohms resistor in line with the 120 VAC. 
Note the resistors temperature!


This cooling fins will do it!

Sunday, June 17, 2018

Title strip drum

 Here is the title strip drum, it's in a quite ok shape, cleaning and adjustment is of course needed.
All the songs seems to be from the era l968-70 so I assume the jukebox have been standing in a barn the last 45 years!


 Rusty parts


Of course did I miss the markings on the cogwheels when I disassembled all the parts but I assume all markings on the three cogwheels should be in the same line....


New own custom made decals for the title drum

Tuesday, May 29, 2018

Push buttons, switches and light diffuser

Rust and dirt on the forty switches, a cleaning was of course needed.

All buttons except no 33 was ok, had to buy a replacement from Bill Butterfield CA USA


Color diffuser mech rusty.....

Not much of the colors is left on the diffuser glass.

All push buutons was cleaned and I found that no 33 was really bad so i orderd a replacement from Bill Butterfield (Music For Fun)  in US.


Transparent plastic foil was the solution.

Not bad at all :-)


Monday, May 28, 2018

Popularity meter

The popularity meter is a mech part that counts how many times a record have been played, the design is bad and troublesome and many users removes this.
 But as I have all parts I decided to refurbish it.
The popularity meter concists of 60 small "cog wheels" washers, springs and lockrings that must be cleaned and polished. Almost all "cog wheels" are also deformed (due to the bad design) and must be aligned one by one.

Before the refurbish


The popularity meter is the orange long part in the center


All small parts after cleaning


Installed with a my own designed label, not prefect colors but good enough!

Grille stars

Four new stars from Stamann Musikboxen in Germany, 42 Euro ea.
Just pay and be happy that someone sells the stars......

Still I miss the center emblem, If you know where to find one drop me a line...


Wednesday, May 9, 2018

Selector cleaning

This was a PITA to do, as the springs loaded 30 pin's on the four sectors was almost impossible to get in place and fit intothe corresponding hole, I first tryed locking them with a small plastic gas hose but that didnt work att all. The spring loaded pins just launched like mini rockets just looking on them.

Finely after weeks of testing different solutions to hold the pins, I invented the "opposit spring solution" which hold the pins/springs in place.
The inner diam of the corresponting spring must be 4,5mm (spot on) to work.

Here is the selector after opening up, with 120 coils/springs/pins and 6 clapper coil asm in the center

One of the four sectors before disassemby

The spring solution

Rubber hoses centers the springloded 30 pins.

Installed


Tuesday, April 17, 2018

Assembling the Gripper mechanic

After painting the Gripper parts the mechanics was assembled.
It took me four hours to get the Gripper in place and working!


New red paint 


Monday, April 16, 2018

Painting parts with a new spary can paint system, mixed result.

All the green parts was painted with 2K spray paint.
The paint was a pita to use and I'm not to happy about the result right now.
The paint had very low viscosity and on the smaller parts there is drips everywhere.
This paint system is compleatly new to me and I should have stayed with the system I know from past.

But I cant complain on the result on the large plastic covers.
Perfect gloss and no drips at all :-)


Tuesday, April 10, 2018

Carrige rebuild

The Carrige is mounted and slides on the Selector mech (Pinbank).
I dont have a clear picure of how the Carrige itself works with the Selector but it will definitely need to be cleaned.

Carrige with the Carrier plate


Dirt in all connectors


Finished and ready for installation

Monday, April 9, 2018

Mounting the Magazine & fixing the Scanning mechanism

The magazine and the "bearing" in place

The guide unit with the rocker arms and springs mounted on the magazine.
(The rocker arms prevents the records to fall out under the magazine rotation)


Just a little cleaning was needed to the Scanning mechanism.
I also measured the coil and switch, everything was great.
Before cleaning & painting......

 .......and after

Got the BADGE !!!!

Finely after three years searching everywhere for the grille Badge, I saw on facebook marketplace that  Michael  R in US parted out an RO 1...